Saturday, May 17, 2014

Reviving KP30: Interior Pt 1

So moving on to the next phase, it is time to do something with the interior. The previous owner might had changed it for about 10 to 15 years ago maybe? The condition isnt that bad though, but I think it looks better with a more JDM oriented appearance. 
                                           
To me, it must have those aluminium rings attached on the synthetic leather. So with some guides from friends who did them earlier, they recommended to try with an old grandpa who still keep the vintage Toyota upholstery.

Im not sure if its the original Toyota material but it still looks similar. Then I sketched my design (bad drawing) for the door panels, front and rear seats and the speaker card. So now I have those JDM look interior and that grandpa really did a great job.


Not bad


Green yea ill talk about that later


Wednesday, March 26, 2014

Reviving KP30: Exterior Pt 7 -fender mirrors-

The challenging part in a restoration project is to source the original spare parts for our particular model or it could be mix and match by adapting from other models. If its rare means it is expensive, if its a famous choice among enthusiast, there will be a reproduction series of each spare parts and not so pricey. 

 In my case, its not rare and not a famous choice either to start a project. There is nothing special about KP30 compare to its cousin i.e Celica or Corolla with more aggressive body lines and powerful engine. KP30 is an entry level car, small and tiny suitable for city use and cheap. 

Fender mirrors have various patterns and designs, I literally bought the wrong one in the first place where I thought it was all the same. The first set I received from the seller is a TE37 model. It looks too weird on my car because the stem is long. 


TE37 fender mirror

Notice that the fender mirror is too tall.  I submitted this picture in the Speedhunters instagram #speedhuntingwknd contest and I won in the first round :)

The winners!that me on the second one, although I never thought about it


The Gift for winning..thanks Speedhunters :) 


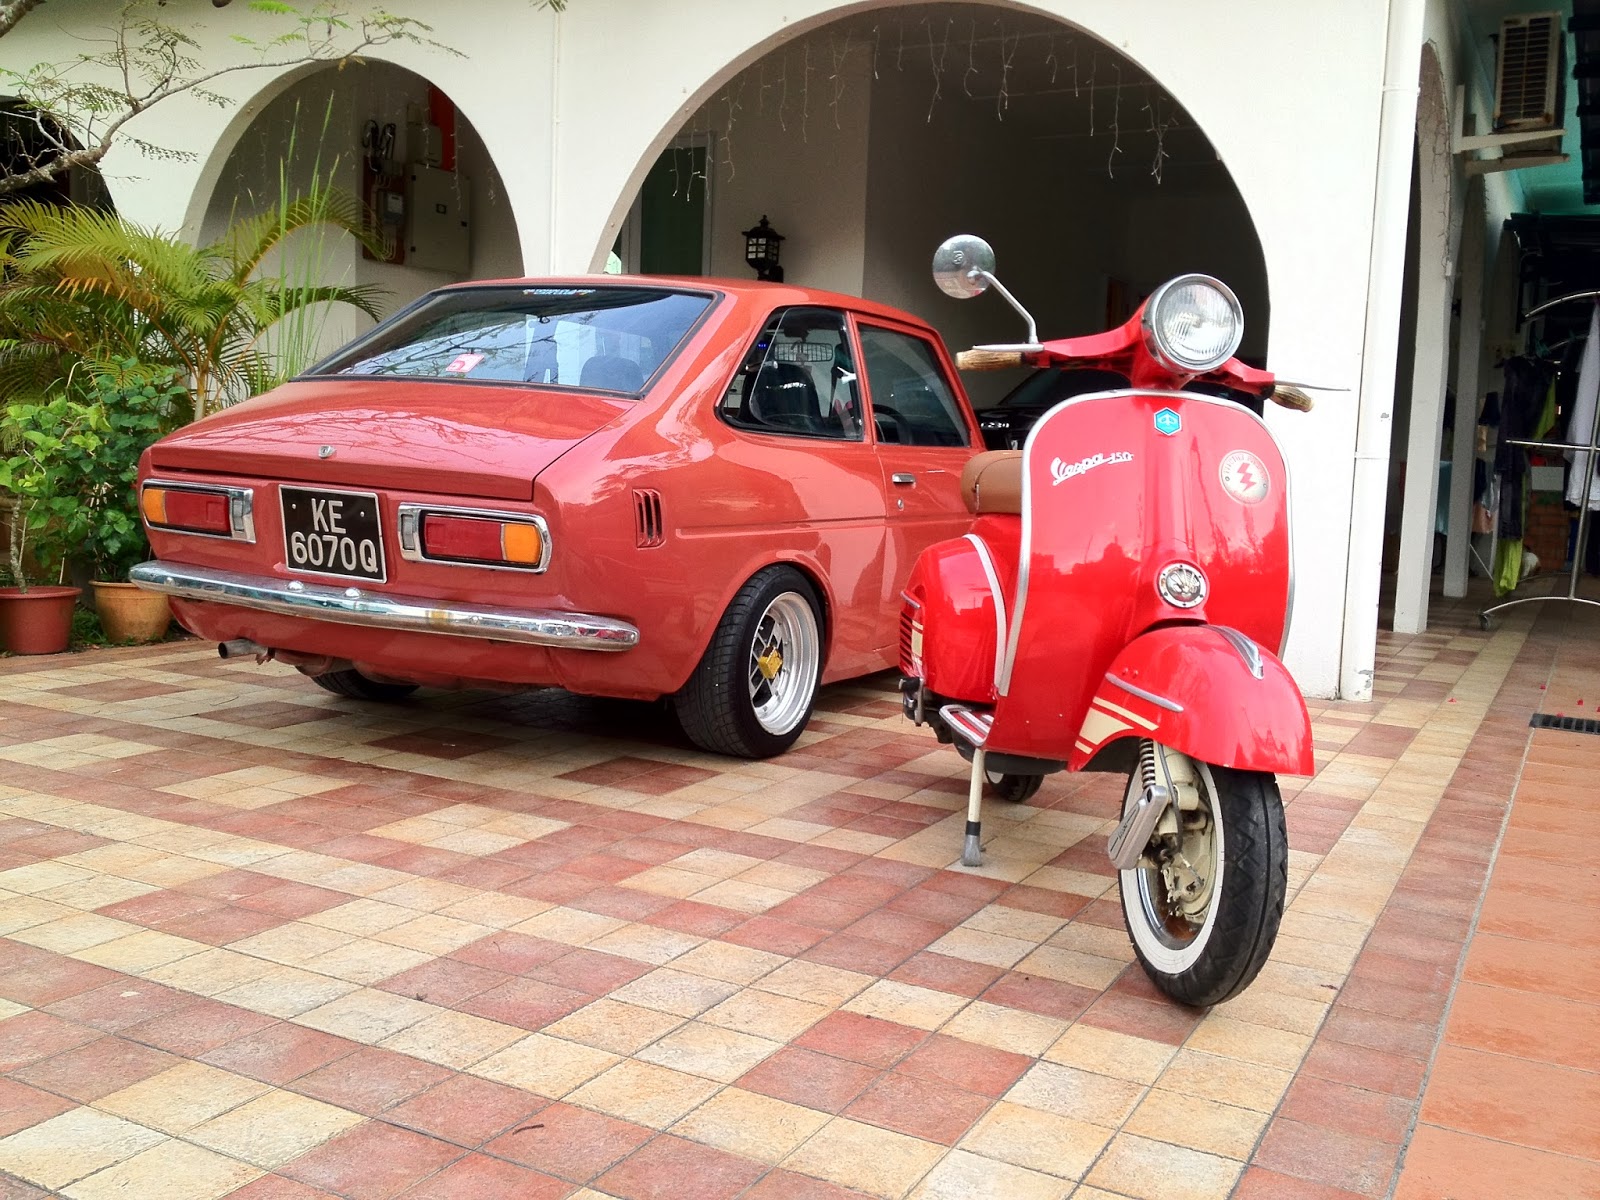
I bought the second set from a different seller and ask for measurement to confirm I wont get it wrong this time. Its a KE25 fender mirror with a stem much shorter.

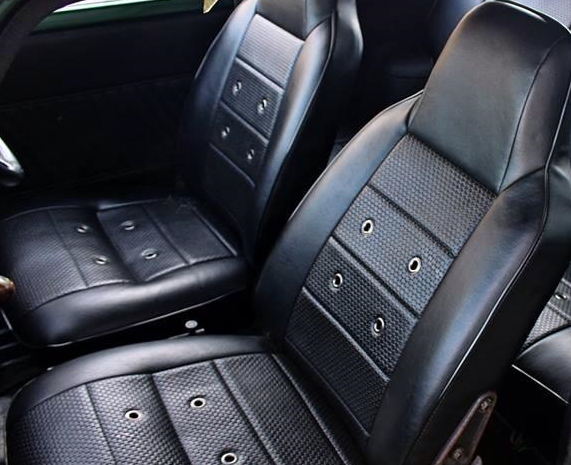
Prepared them for a paint job, I chose the grille and headlight housing to be mica black and silver scheme, and volks racing grey for the fender mirror and air vents.


Looks much neater and goes well with the body color


Saturday, February 22, 2014

Reviving KP30: Exterior Pt 6 -wheels

   When building a J-Tin like mine, a period correct set of wheels is a must to achieve that 70s feel tuning era. Although mine aren't kinda rare or famous enough like the watanabe, hayashi or ssr's, but im still looking forward to bring out the best that I can with these Enkei Apache.
 

 Without any machining method, I went to work with these manually. Sandpapers and Meguiars metal polish are the only tools that I need and it was my first time doing this.


Started with 450 grit sandpapers and smoothen them gradually with 600, 800, 1000, 1200, 1500, 1800, 2000, and lastly 2500 grit before I apply the Meguiars metal polish.


9 steps for each wheel 4 wheels all together then I knew Im crazy enough to this :p . The hardest part was to remove the coatings and of course I burned my fingertips.


That advan RG 2 over there is one of my stool to do the hard work..haha


How it looks like after 8 steps before applying meguiars.


Completed sets of 4


120 man hours later after applying Meguiars metal polish


   I swear to myself that Im not going to do this again but all the hard work paid off ! Next time just send them over to the machine shop and wiggle your legs 


Friday, February 21, 2014

Reviving KP30: Handling Pt 3 -coilovers-

   The next step was to have a decent ride height but I have to admit that there is no specific calculation or measurements on this purpose. It just happen that I have a set of used adjustable coilovers taken out from my Perodua Myvi/ Toyota Passo. The spring rating was 6.5kg/mm in the front and the OD of the strut is about 2 inches.


I took out my TA22 struts and compare the OD and length for both struts and lucky me they have the same OD. The length of the coilover strut is about 1.5 inch shorter than TA22 struts.


Moving on the fabrication process, nothing special here just cut the old TA22 strut and remove the catridge casings. Inserted the coilovers onto the base around 1.5 inch deep and weld them from the bottom. I assume that Im going to be very low with enough suspension travel.


After the welding and skimmed disc rotor.


Then I stripped the casing paint out prepare for its new paint. Im using Acid#8 for the base metal primer to protect from rust and good bonding with the finish paint.


Same goes to the disc rotor 


I realize that another problem rises up where the top mounting doesn't fit with the piston shaft. The shaft is about 0.3mm smaller from the ID of the top mounting so I had to mod some tapered washer and insert it in place just for a temporary fix before I can find any appropriate metal bush. That will do the job for a while :)


So the finish product, the KP30 drives great on low height with enough suspension travel and the brakes feel smoother after the rotor been skimmed.


Reviving KP30: Exterior Pt 5 -bodywork-

   Despite lack of time updating my blog, the progress is still ongoing and this happen back in 2012 .So I get the KP31 Publica front end grilles and the side housing also the rear tail lamps. I sent them over to the body shop and hoping they can fit them close to the standard condition. 


   The results is not that bad..lots of metal works especially in the rear end. Match painted with the rest of the body and some clear rubbing to make it looks better.